Setup Neovim in NixOS
Recently, I've been working on a large project in Rust, but my laptop isn't powerful enough to handle it efficiently. So, I decided to buy a new mini-PC specifically for this task.

Since I’m still more accustomed to developing on macOS and didn’t want to go through the hassle of setting up a Hackintosh, I decided to install NixOS on my new mini PC. Initially, I planned to continue using VSCode for remote development, but later realized that Neovim is also a great option.
Install Neovim
I manage my configurations using home-manager,
but encountered build failures
when using nixos-unstable with programs.neovim = {}.
To avoid this issue, I opted to include it directly for now.
The reason for using nixos-unstable is that I wanted to access the latest Neovim version,
v0.10.1.
{inputs, ...}: let
  pkgs = import inputs.nixpkgs-unstable {};
in {
  home.packages = with pkgs; [
    neovim
  ];

  # programs.neovim = {
  #   enable = true;
  #   package = pkgs.neovim;
  # };
}
Configure lazy.nvim
Directly use a Lua script to configure lazy.nvim.
Refer to the installation documentation for the Single File Setup,
copy the content and add it to the config/init.lua file.
{inputs, ...}: let
  pkgs = import inputs.nixpkgs-unstable {};
in {
  home.packages = with pkgs; [
    neovim
  ];

  home.file."./.config/nvim/" = {
    source = ./config;
    recursive = true;
  };
}
After successfully executing rebuild switch,
run nvim and you will see lazy.nvim automatically go through
the initialization process.
Install and Configure Plugins
By directly mounting the recursive ./config directory,
we can easily add custom configurations.
As an example, let's add the necessary plugin configuration for Rust development.
First, refer to the LazyVim Setup
and edit ./config/lua/plugins/core.lua to add the LazyVim configuration.
return {
 { "folke/lazy.nvim", version = false },
 { "LazyVim/LazyVim", version = false, import = "lazyvim.plugins" },

 -- NOTE: The import below can automatically add your own plugins,
 -- configuration, etc from `lua/plugins/custom/*.lua`
 { import = "plugins.custom" },
}
Since a C compiler is needed to build nvim-treesitter, if the
cccommand is not available, you can runnix shell nixpkgs#gccbefore executingnvimas an alternative.
Edit ./config/lua/plugins/custom/rust.lua to add
and configure Rust development plugins.
return {
 { import = "lazyvim.plugins.extras.lang.rust" },

 {
  "mrcjkb/rustaceanvim",
  version = "^4", -- Recommended
  opts = function(_, opts)
   opts.server.default_settings["rust-analyzer"] = {
    cargo = {
     loadOutDirsFromCheck = true,
     buildScripts = {
      enable = true,
     },
    },
    checkOnSave = true,
    procMacro = {
     enable = true,
     ignored = {},
    },
    files = {
     watcher = "client",
     excludeDirs = { ".direnv", ".git" },
    },
   }
  end,
 },
 {
  "nvim-neotest/neotest",
  opts = {
   adapters = {
    ["rustaceanvim.neotest"] = {},
   },
  },
 },
}
If code debugging is required, you need to add DAP configuration.
Add the configuration to ./config/lua/plugins/custom/dap.lua.
return {
  { import = "lazyvim.plugins.extras.dap.core" },

  {
    "jay-babu/mason-nvim-dap.nvim",

    opts = {
      automatic_installation = true,

      handlers = {},

      ensure_installed = {
        "codelldb"
      },
    }
  }
}
To automatically install codelldb via Mason, additional dependencies are required.
For common dependencies,
you can simply include them through home.packages for global use.
{pkgs,...}: {
  home.packages = with pkgs; [
    curl
    wget
    git

    unzip
    gnutar
    gzip
  ];
}
For environments like Node.js that you don't want to be globally effective, you can include them using the following method:
{inputs, ...}: let
  pkgs = import inputs.nixpkgs-unstable {};
in {
  home.packages = with pkgs; [
    neovim
  ];

  home.file."./.config/nvim/" = {
    source = ./config;
    recursive = true;
  };

  home.file."./.config/nvim/lua/config/options.lua" = {
    text = ''
      -- npm is required for mason
      vim.env.PATH = vim.env.PATH .. ":${pkgs.nodejs}/bin"
    '';
  };
}
Once configured, when you open a Rust project and edit *.rs files in nvim,
the corresponding plugins will be automatically loaded.
Rust-Analyzer needs to be installed manually. You can add it by running
rustup component add rust-analyzer.
Miscellaneous
The Mini-PC brand and model are: Minisforum UM790 XTX
- CPU: AMD Ryzen 9 7940HS
- RAM: Crucial DDR5-5600 16G * 2
- Storage: ZhiTai TiPlus7100 1TB
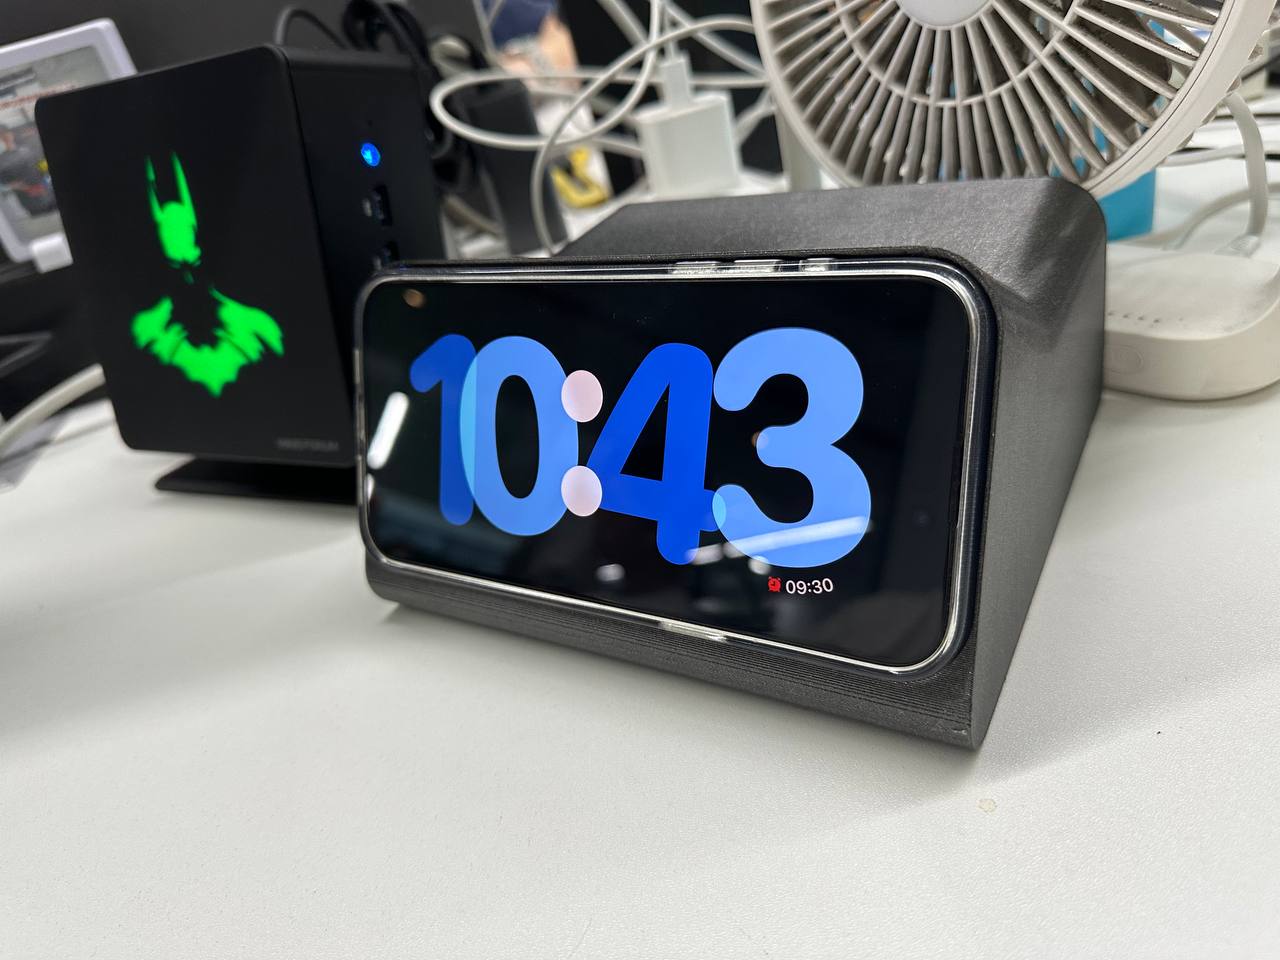
The Batman lighting effect on the Mini-PC in the image is replaced with a 3D-Printing part.
- Model template: Minisforum UM780 XTX LED plate
- Batman model: Batman Cutout Wall Art
The main item in the image is the iPhone 15 Pro Max standby mode base, made using 3D Printing. It can be used to charge both your phone and AirPods Pro.
This work by 林玮 (Jade Lin) is licensed under
CC BY-NC-ND 4.0
